Kenneth Steimel
Student of Computational Linguistics and High Performance Computing
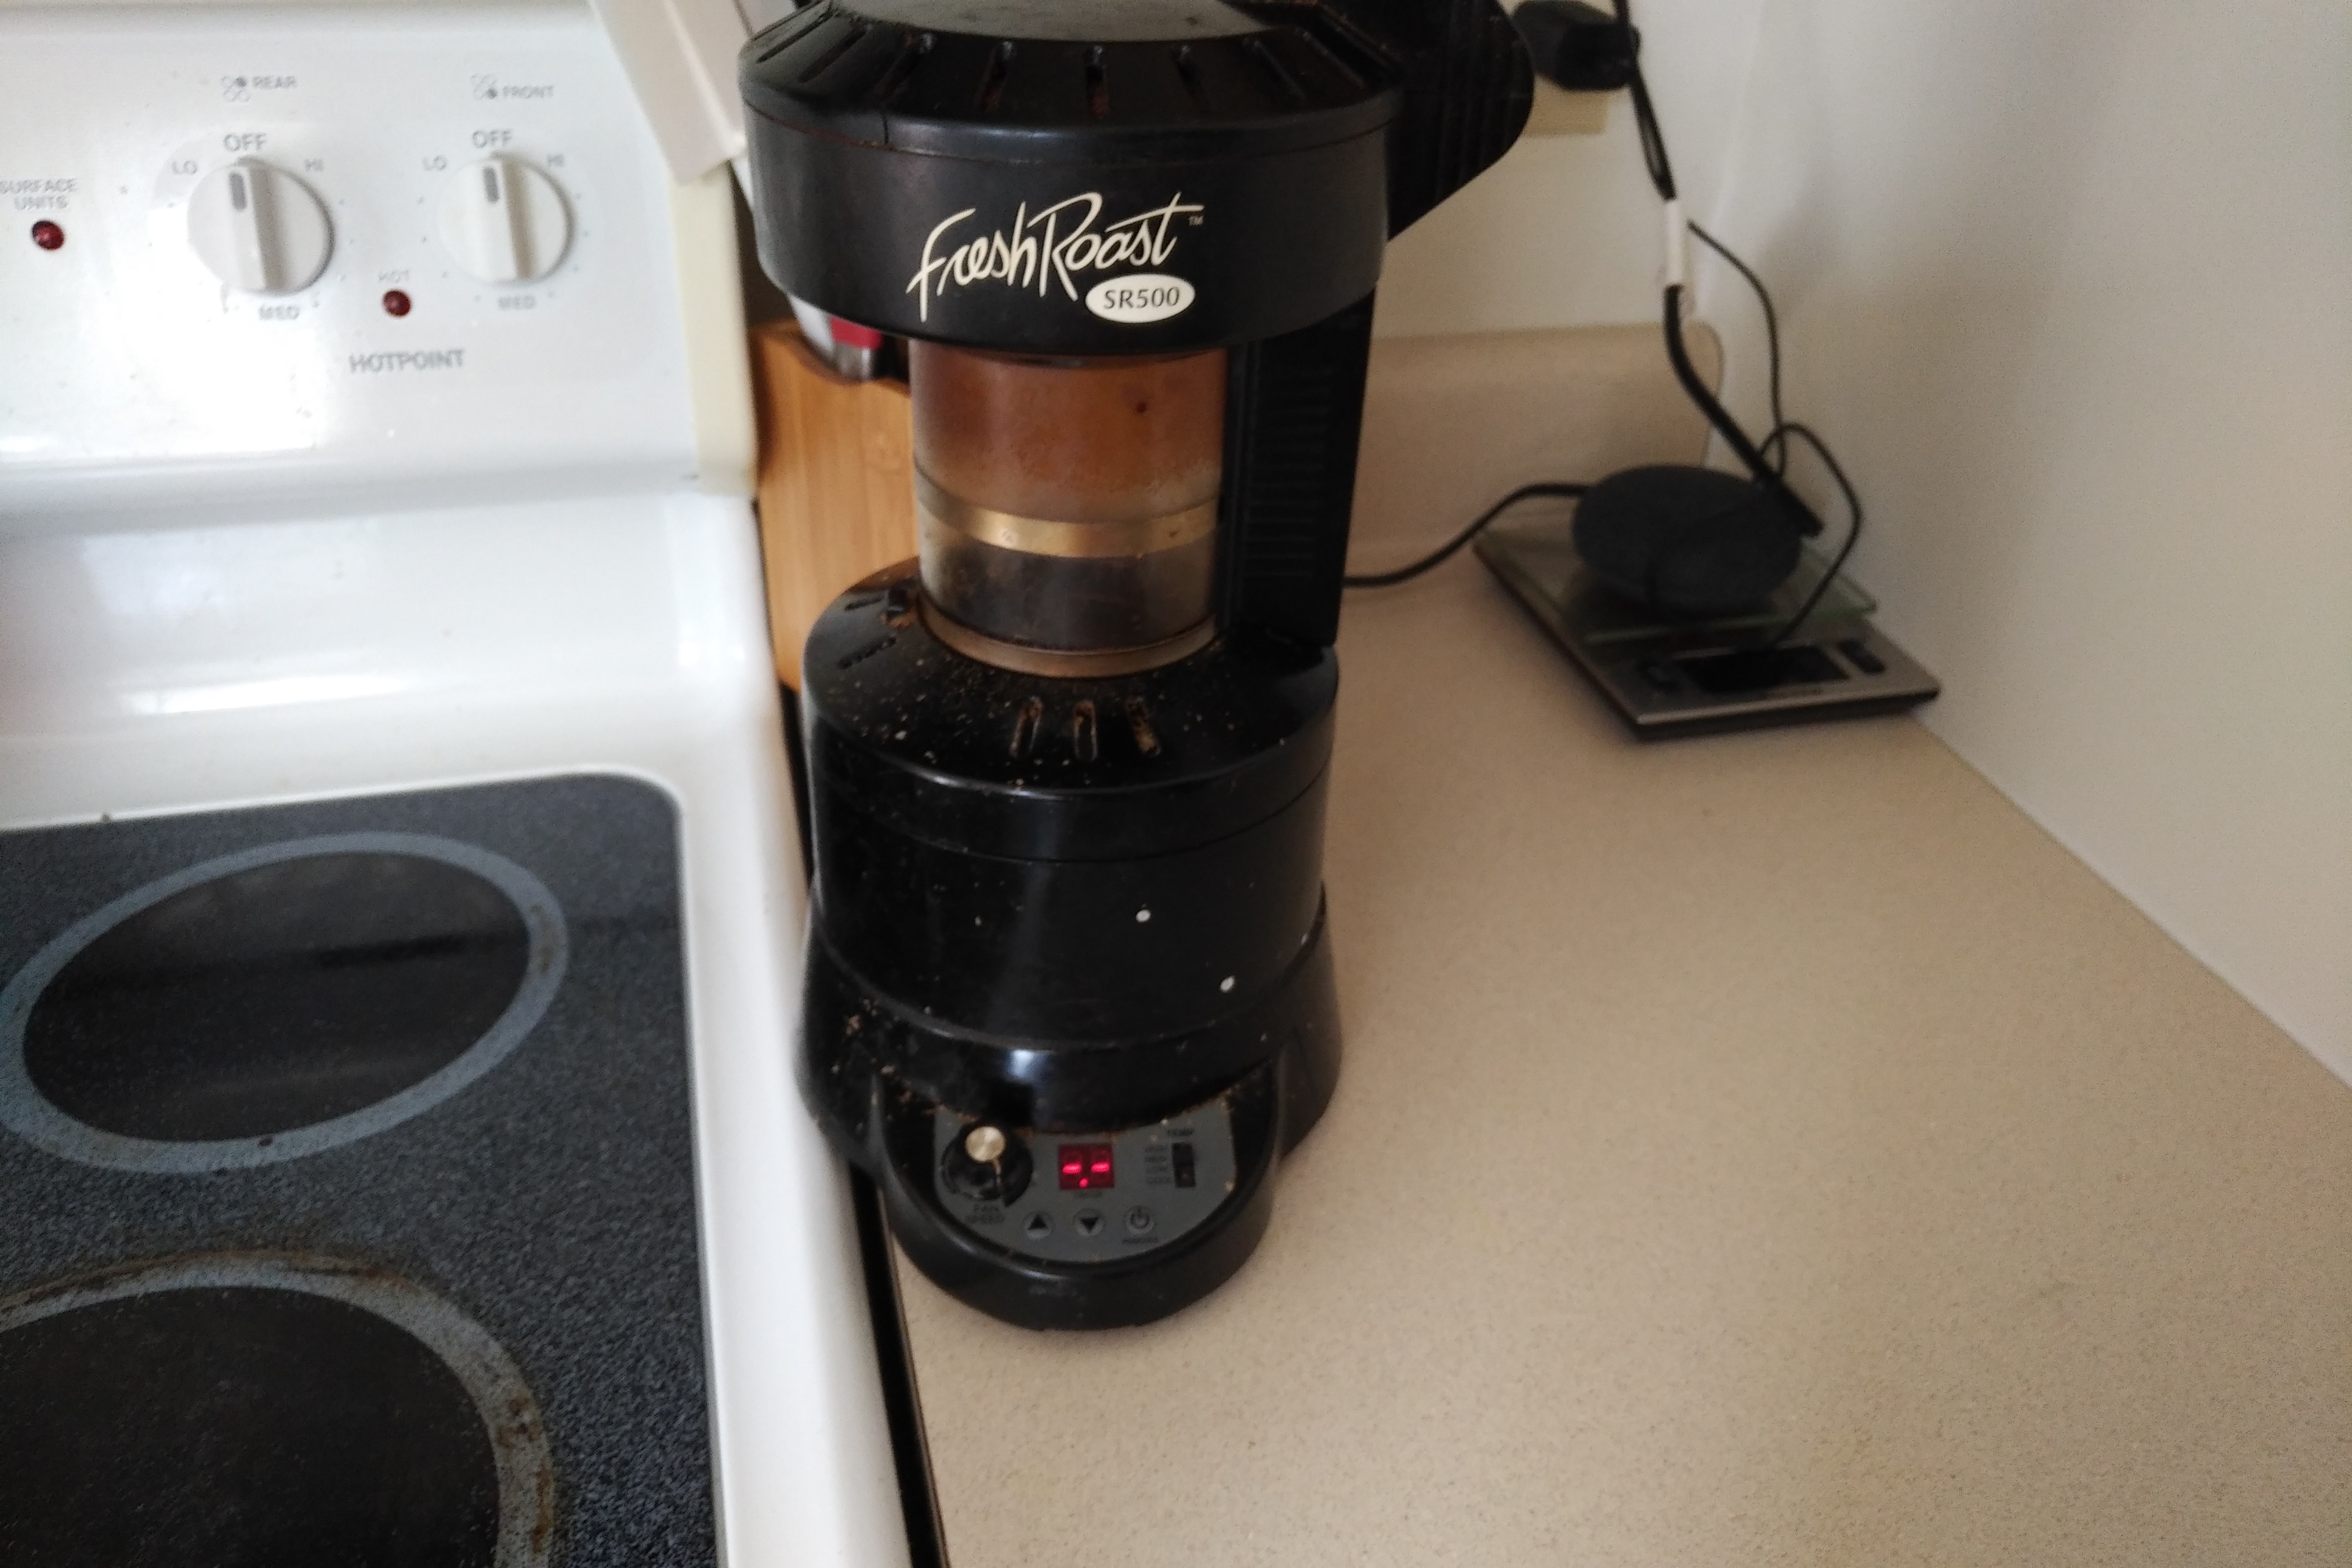
My Roasting Process
I use a Freshroast SR 500 air roaster to roast my coffee. I wrote this bit to describe how I roast my coffee in this roaster. Hopefully, this will be of use to someone who happens by my page. However, if no one even sees this, it will still be useful as a way for me to catalogue my roasting procedure at this point in time.
Amount of coffee
I tend to use about 1.5-2 ounces of coffee per roast cycle. I don’t get very precise with this. Ideally, I would keep track of this better so that I can apply some of the machine learning that I do for my research to coffee roasting. I’ll work on this in the future.
Drying
Then, to start out, I get the roaster going on low heat with max fan. This part of the roast is done to bring a lot of the moisture out of the beans so that they circulate better on the bed of hot air generated by the roaster.
After 45 seconds, I push the power button to pause the heat for about 30 seconds. In my experience, this helps most roasts not get too hot during the drying process. The heat from the coils inside the roaster will still have quite a bit of heat so it’s not like the air blowing out is cool. It’s still drying them out. Then, I press the power button again to restart the drying process. I let this run for another 1:15. I then begin the actual roast.
There are a number of other methods that people have discussed online for getting good circulation with the Freshroasts including using a spoon to stir during the beginning of the roast (starting out on high heat immediately), and tilting the roaster during the beginning of the roast to cause it to circulate better.
I have tried both of these other methods as well. In my experience the first one produces too much mess. At the early stages of the roast, there’s not much chaff being generated. However, there are still small pieces of dust dirt and whatever. All I know is that my counters are noticably dirtier if I do the stirring method. When tilting the roaster, I am afraid of breaking something. I’ve already broken the top of my chaff basket once doing something similar to this. Doing a drying stage at the beginning and pausing it halfway through is the most practical option in my opinion.
Roasting
Then, I restart the clock by bringing the rocker switch for the temperature down to cool and then bring it all the way up to high. The remainder of the roast process varies quite a bit based upon the type of bean I’m using. Beans with higher surface areas (like Monsooned Malabar) get down to lower fan speeds because they still circulate very well. Those that don’t circulate very well will only go down to about halfway. I keep the temp control on high until I get about 3 or 4 minutes into the roast process. Then, I put it on high. I hardly ever put it on low. Every time I drop the temp though, I make sure not to lower the fan speed at the same time. Since it takes a second or two for the coils inside the roaster to cool down, I figure that I should wait a bit before lowering the fans. Remember that lower fan speeds will roast the beans faster. In effect, the actual heat being applied is the result of a relationship between fan speed and temperature.
Cool down
I typically take the chaff basket off of the roasting chamber and dump the beans onto a plate at this time to immediately stop the roasting process. Then, I put the roasting chamber and chaff basket back onto the base so that they have time to cool back down. Holding the power button down will stop the roast in its tracks but this might do damage due to the rapid change in temperature.